See Tracknotion benefits in action
Insights you should have

Dynamic Campaigns in TrackNotion let you track calls from your website with pinpoint accuracy—perfect for juggling multiple marketing efforts at once.
TrackNotion offers two campaign types: Static and Dynamic. Dynamic Campaigns shine when you need detailed tracking across multiple sources.
Dynamic campaigns in TrackNotion assign unique phone numbers from a number pool to the sessions to your website, enabling TrackNotion to log UTMs and click IDs from the source directly to a call. This ensures precise tracking of where calls are coming from, even when multiple sessions occur simultaneously.
Example: A visitor from a Google Ad gets a unique number. Another from a mailer gets a different one. Even if they call at the same time, you’ll know exactly which source drove each call.
When you run a dynamic campaign on your website, you’ll notice that each session on the site will swap out your number to one of the ones in your number pool, this is how TrackNotion can determine the original traffic source.
Dynamic campaigns are perfect for running multiple marketing or communication sessions simultaneously.
To make data-driven decisions, you need to be able to separate the metrics from each session and measure its performance individually.
For instance, if you have callers coming in from Facebook, Google Ads, and other channels all at once, attributing calls to specific platforms is nearly impossible through traditional means. In such cases, all you can do is figure out your efforts' overall success, but you won’t be able to pinpoint which campaigns contribute to the most success or are falling short.
Dynamic Campaigns are your go-to for:
Without this, you’d only get a lumped-together view of success, not the granular detail needed to tweak strategies.
By combining UTM data—tracking traffic source, medium, and campaign name—with these dynamic numbers, TrackNotion enables precise attribution of calls to their originating source. This clearly shows how each platform or campaign contributes to overall performance.
UTM tags are essential for accurately tracking your campaigns in TrackNotion. To set them up:
1. Identify the Key Parameters:
2. Use a UTM Builder:
Tools like Google’s Campaign URL Builder make it easy to generate UTM-tagged URLs. Simply input your parameters, and the tool will create your URL. These tags can be assigned to your ads to track which ones are generating calls for your business in TrackNotion.
Some platforms have built-in parameters that you can set, and won’t allow you to run with UTM tags added to the URL.
3. Verify Tracking: Use analytics tools such as GA4 to ensure the UTM tags properly capture session data.
Note: Some platforms (e.g., ad networks) may use built-in tags instead—adjust accordingly.
To get started, log into your TrackNotion account and select the ‘+ Add Campaign’ button on the left side of the page.
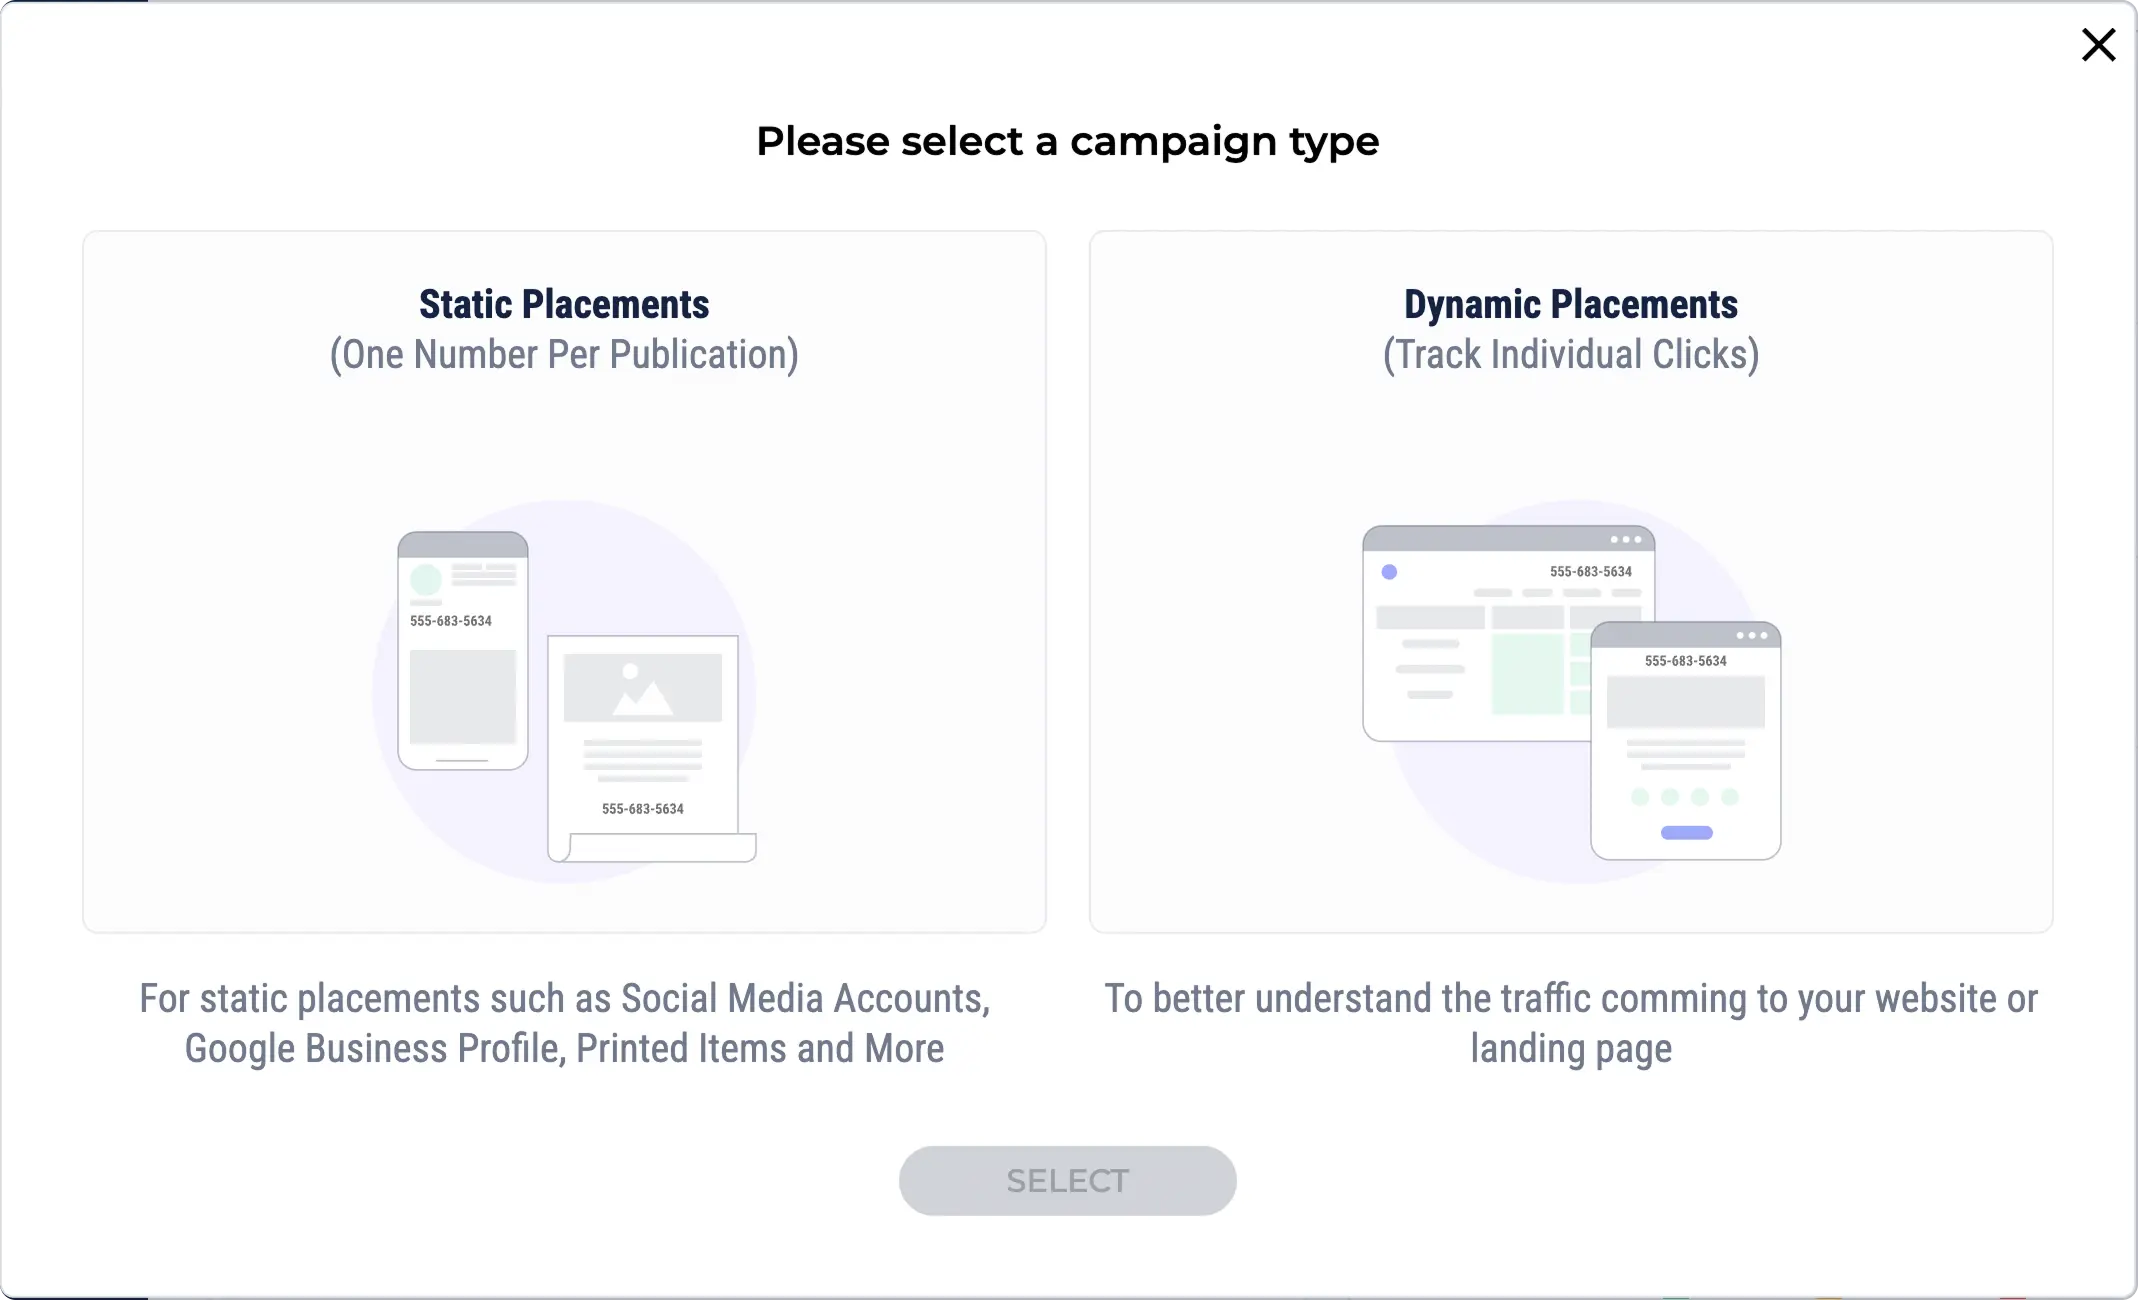
A popup window will appear, allowing you to select between Static Placements (for Static Campaigns) or Dynamic Placements. Select Dynamic Placements to continue, and hit the ‘Select’ button to continue.
On the next screen, you will be prompted to provide a name for your Dynamic Campaign, as well as a description.
Next you will need to fill in some details about your Dynamic Campaign.
Tip: Make them recognizable—especially if you’re running multiple campaigns or sharing with a team.
The Pool Size determines how many unique phone numbers will be included in your Dynamic Campaign. This number isn’t based solely on the number of platforms or sources but instead on the volume of concurrent sessions that could occur on your site at any given time.
To ensure you set a sufficient pool size, consider the expected traffic to your site and the potential overlap of user sessions.
The more sessions happening simultaneously, the larger your pool size needs to be to maintain accurate tracking.
To decide on how many numbers to add to your number pool, look at your website analytics data to see how many simultaneous sessions you have on your site at peak times.
Tip: Add 5 extra numbers as a buffer for traffic spikes (e.g., sales or events).
Next, enter your preferred area code to have TrackNotion generate relevant phone numbers. The numbers it generates here are the ones you will inject into your website to identify sessions.
Once you have entered your desired area code, TrackNotion will automatically generate a pool of numbers. The numbers generated will depend on how many you have chosen in your Pool Size.
Note: Number limits depend on your plan—see pricing details.

Before including a website, you will need to ensure that the TrackNotion script is installed on it. This will allow the numbers displayed on the website to be dynamically changed to those that were selected in the pool.
Find out how to implement this script on your website here.
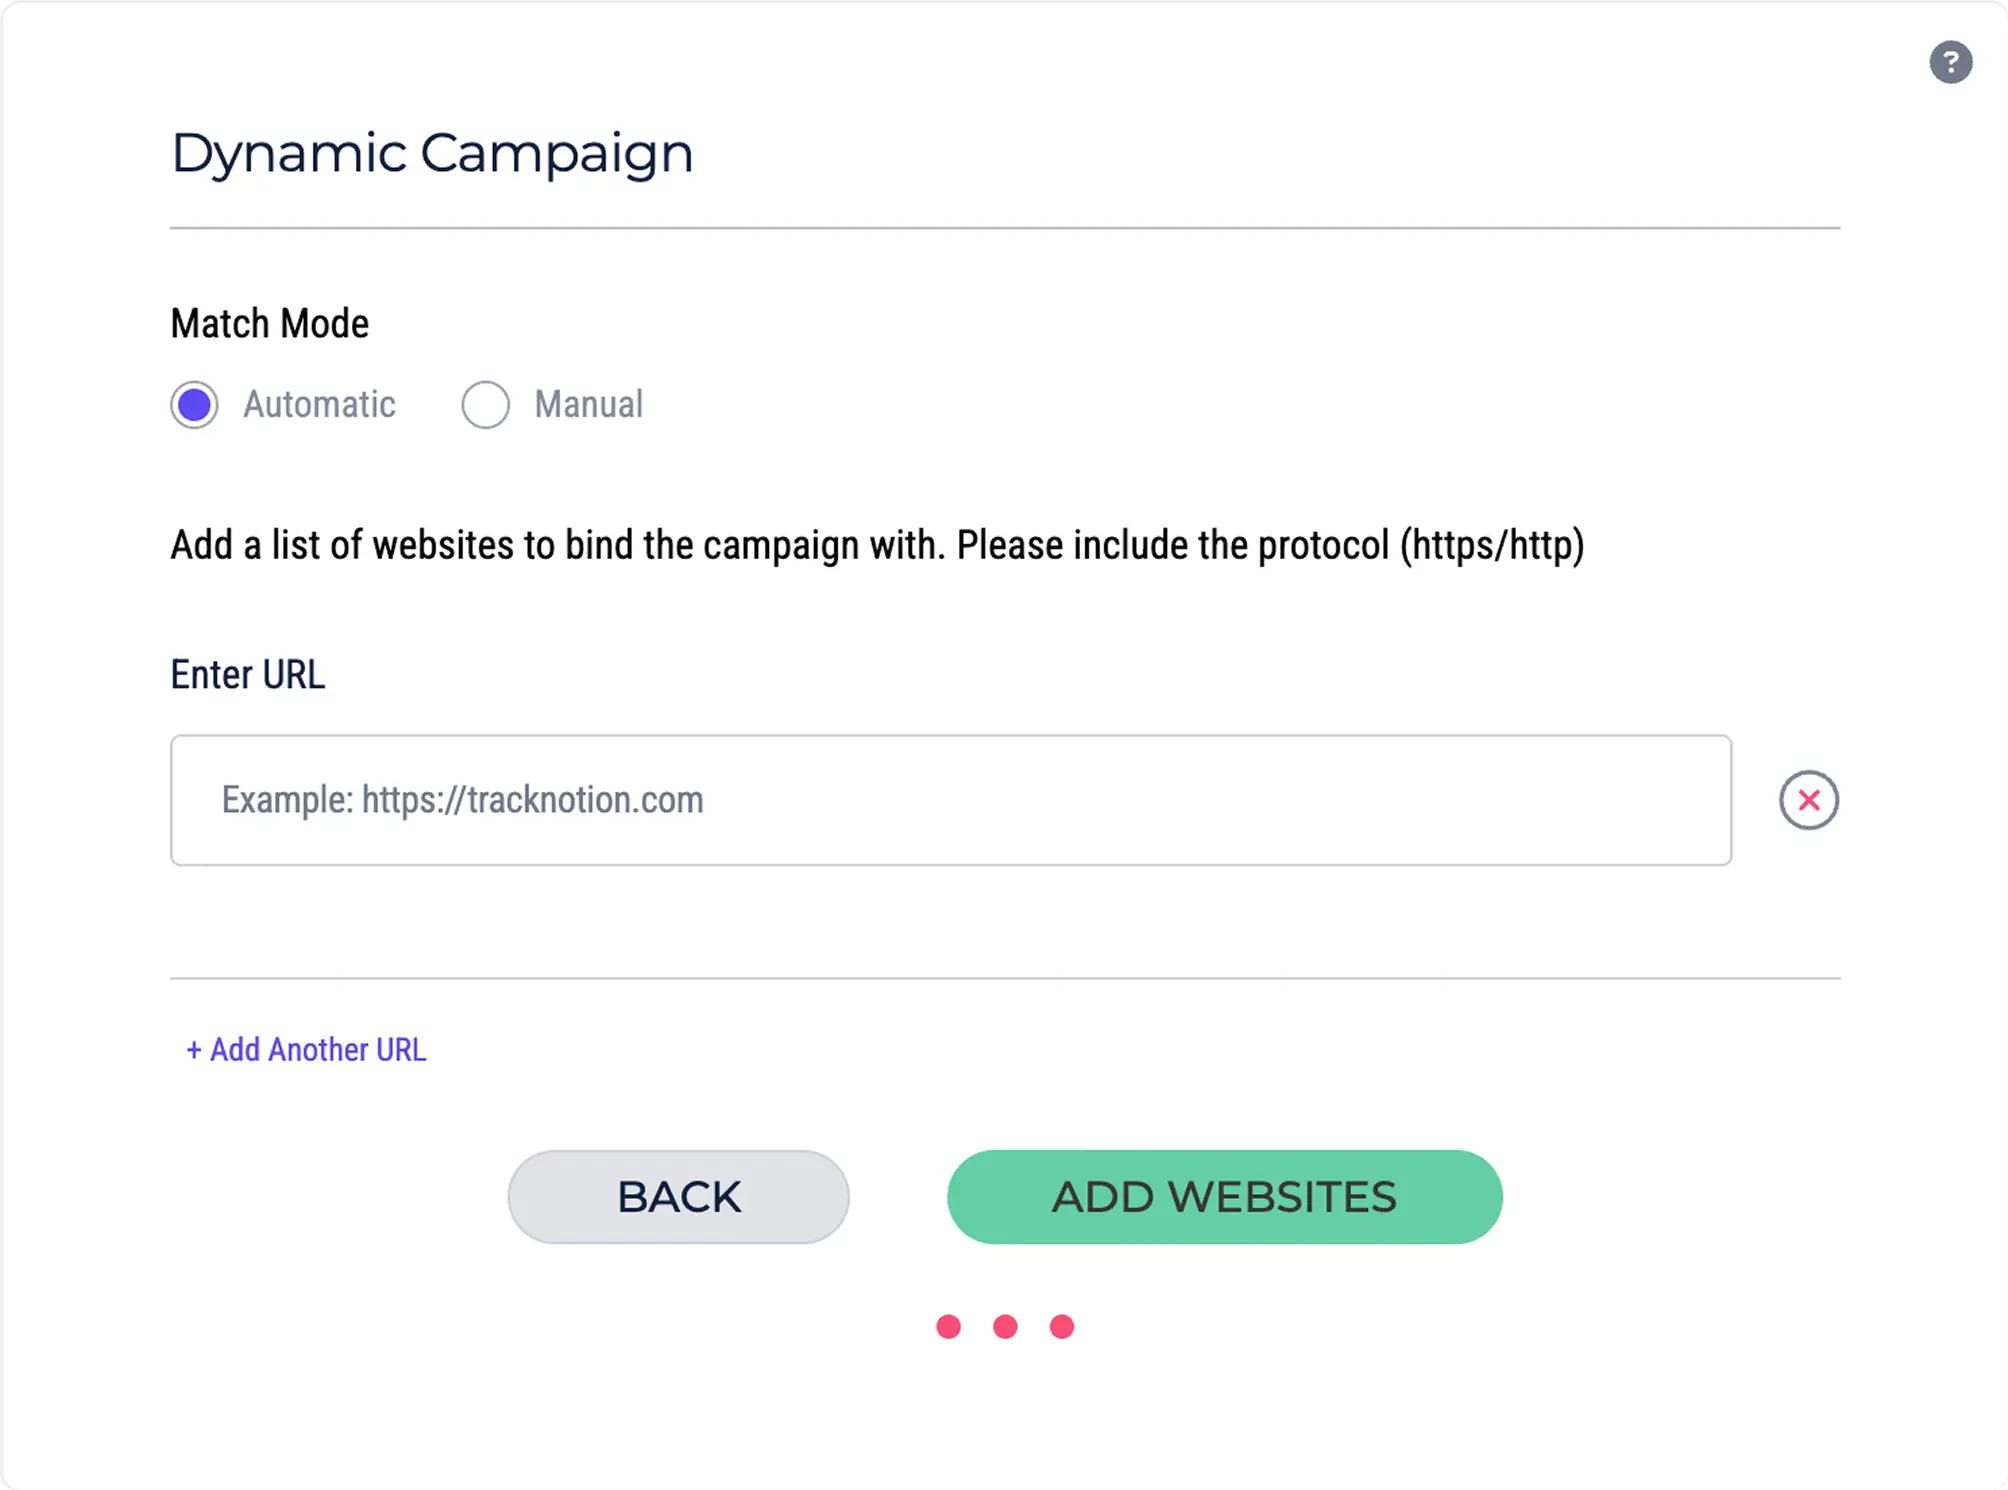
To complete the setup, you will need to add a list of websites to bind to the campaign. You can add multiple websites by selecting ‘+ Add Another URL’ up to a maximum of 5.
Remember that you need to provide the entire URL, including the protocol (https/http). Once you have added all the websites you want to bind to the campaign, click the ‘Add Websites’ button to continue.
You will be taken to a confirmation screen that details the Dynamic Campaign you have just set up.
At this stage, you will also be given the option to set up your call flow or leave it for a later stage, which will select TrackNotion’s default settings for the flow.
Read more about setting up call flows.